pocket/stuff sack tutorial
Once again, fat cat was cajoled into this whole baby carrier photo shoot thing ... this time with a heavenly chin scratch. Little cat would have nothing to do with it.
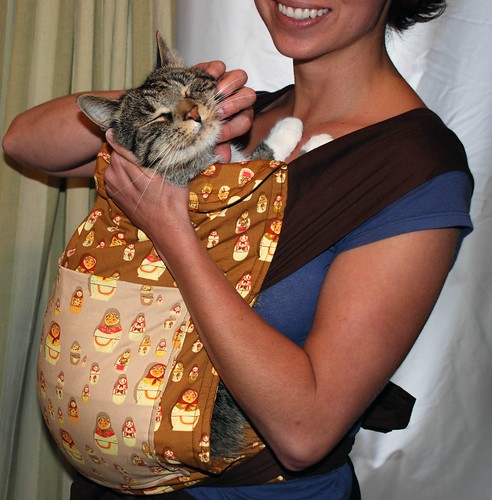
The Heather Ross fabric was looking at me while batting its Russian doll eyelashes, so I made another mei tai for this tutorial. However, you can add this kind of a pocket/stuff sack onto just about anything, from your already-made mei tai carriers to picnic blankets and outerwear - anything that you want to make portable and easily stowed away in a purse. Thanks to Katharine for the inspiration - check out the link to see her version of the mei tai pocket/stuff sack.
While Katharine used a zippered pocket, the one in this tutorial is zipper-free and really easy to add on to your mei tai. It shouldn't take you more than 10 minutes max.
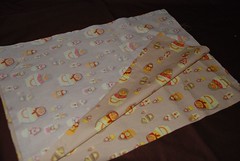
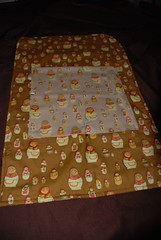
1.) Cut out two rectangles of fabric 11 in. x 15 in. Place them with their right sides facing together (if you have a directional print like my fabric, place one "upside down.")
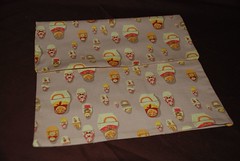
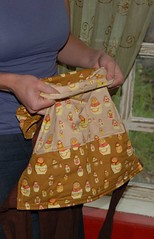
2.) Sew around all edges, leaving an opening on one of the 11 inch sides for turning. Turn right side out and press. Now fold the top 5 inches and pin. Flip over the entire pocket and pin in place on the carrier. (The folded part will be sandwiched between the pocket and the carrier, and not visible until it turns into the stuff sack.)
3.) Topstitch around the three edges of the pocket. In doing so, you will close the opening at the bottom that you left for turning. Be sure to reinforce these seams, especially towards the top edges of the pocket.
*Notice here that I made another variation to the original pattern with this Russian doll mei tai ... I removed the nursing shield in favor of a more rectangular look, while still maintaining a slight curve and headrest at the top. That's the great thing about this pattern - once you get the general idea, you can modify it to fit your needs! (My need this time being making the mei tai body out of a measly half-yard of this precious fabric!)
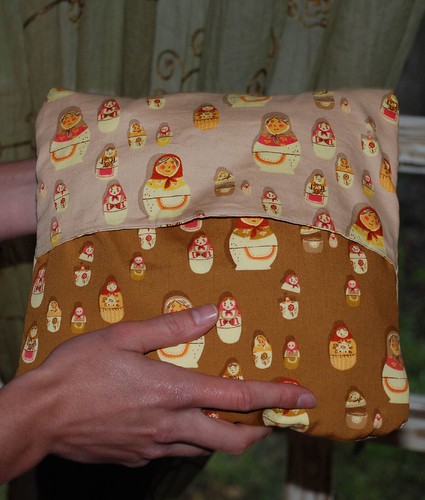
Here's how to covert the pocket into a stuff sack:
Turn the pocket inside out.
Stuff.
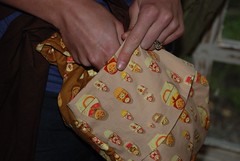
Flip over the top.
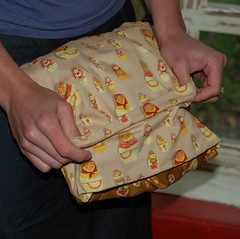
Place in your purse or use as a mini pillow!


7 comments:
Megs,
Only your cats would submit to a photo shoot! Enjoy the harvest loaf...might be happening in our kitchen soon!
Omigosh, that cat is so loving life!! :)
What a fabulous idea...my mei tie is usually in a knot or strewn about the back seat
Thanks for the nod. We're still loving ours.
That is the most hysterical thing I've seen!! What a sweet cat! Beautiful fabric :)
What a great tutorial! I know some babies coming into this world will be a little snugglier thanks to you.
Wow!! Thia is great, I actually sat down yesterday and was going to make a shoulder bag type thing to hold my newly made mei tai in but now I am going to do this instead, thanks!
Grace
Post a Comment